Sunday, June 17, 2012

SUMMERTIME IS HERE!

SUMMER FIREPLACE MANTLE MAKEOVER

Well, I finally put away the Easter decorations!  At least this year was more timely than the year I was putting Easter baskets away when I got the Halloween decorations out!

Part of the transformation is my fireplace mantle.  Here is the summer vignet.


I made six napkins out of three cordinating fabrics and arranged them on the mantle.  The dried flowers in the wreath coordinate with the flowers in the dark green fabric.  The stack of books on the right are very old "Fun With Dick and Jane" readers from the 1940's and 1950's and a very old cookbook from my grandmother.  The vases and other brick-a-brack were selected from a hobby store to round out the vignet.  And the screen door on the left was a craft mall purchase.


TOP TEN TIPS TO IMPROVE YOUR QUILTING

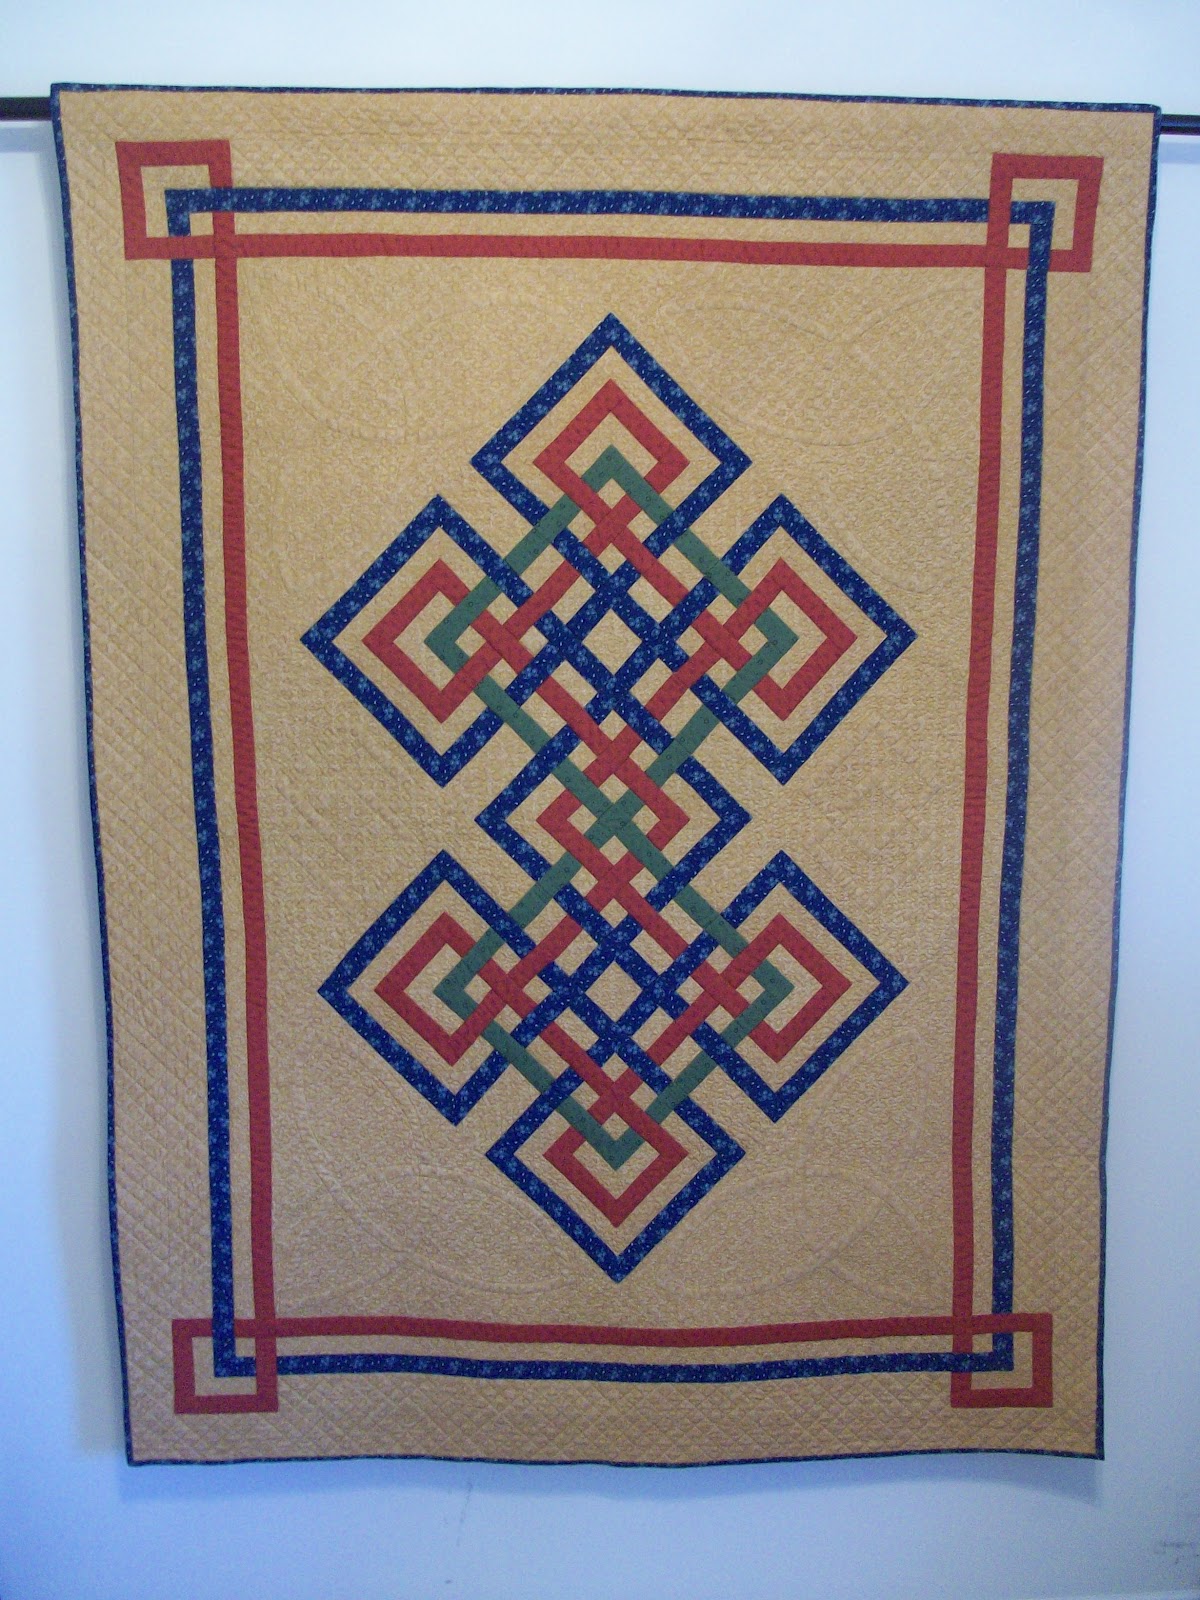
I just got back from the NQA (National Quilting Association) 2012 Show in Columbus, Ohio, where I was privileged to give 2 lectures, attend three more, see the show, shop the vendor mall, and attend two dinners and hear a wonderful talk by Paula Nadelstern who does amazing awarding-winning kaleidescope quilts. 

I was also privileged to attend a class by another award-winning quilt artist, Maria Elkins, who taught us how to do quilt portraits.  My first portrait is almost finished and I hope to post a picture of it next week.

One of my lectures was on my Top Ten Tips To Improve Your Quilting. I will be listing all ten in future blogs. Here is the first.......

TIP NUMBER 1 - SHOP SMART!

Prepare a tote bag to keep in the car which contains:
  • All the sales flyers and coupons from your local quilt shops and stores
  • Calculator
  • Notebook & pen
  • Measuring tape
  • 1 gallon ziploc bag which contains everything you need to purchase for a particular project (fabric requirements, swatches or printouts from your quilt program such as EQ or Quilt-Pro, etc.)
  • Replace sales flyers as they become outdated and remember to KEEP IT IN THE CAR! It does you no good to stop at a store when the coupons are at home!
Stock up on notions and thread when they are on sale. Keep a list of everything you need on the notebook in your tote bag.

Keep white, off-white, gray and black thread on hand at all times. These colors will substitute for almost anything in a pinch - especially if you run out of the proper thread at 3am during an insomnia-induced sewing session.
**********************

Visit me again next week when I will post my Tip #2 - Be Prepared!

Until then...........

PAM

Sunday, February 19, 2012

Another Project Finished!

I'm 2 for 2!  I finished my second project in 2012.  This is a lap quilt that I started at Quilt Escape 2011.  I took a class from Sandi Blackwell called "Square-Agonals."
The technique involves creating the quilt in straight rows, then cutting it apart diagonally on specific lines, then stitching it back together to create the diagonal, on-point effect without having to set in any triangles such as those around the perimeter of the quilt.

This quilt is 65" square and I used a flannel for the backing.  I used a pantograph for the quilting pattern and an Egyptian cotton thread, King Tut from Superior Threads, in a variegated green.  Here are a couple close-ups of the quilting.
Here is a close-up view of the quilting pattern.
This is a view from the back.

You can see how well it goes with the sofa.

Registration for this year's Quilt Escape begins on March 1.  Must decide which class I want to take this year! 

Pam

Saturday, January 28, 2012

January Goal

I decided not to make any New Year's Resolutions this year.  Instead, I am setting goals.  One of my goals is to finish one U.F.O. (Unfinished Fabric Object) each month.  I have more than enough to get through 2012 and perhaps even 2013!

So, my first UFO completion is the quilt I started at the Quilt Escape retreat that I went to in 2010.  I took a class from Peg Bingham who has developed a method to make the Celtic knot quilts using a pieced method instead of applique.  This is my quilt entitled "2B or Knot 2B."  This may require a little explanation!

There is a lot of strip cutting for this quilt and to keep everything straight, Peg encourages you to cut all similar strips and put them in a baggie with labels.  For example, Fabric 1 might have pieces in different lengths labeled A, B, C, D - you get the picture.  So, I decided that the name of my quilt would be "2B or Knot 2B" - get it?  LOL.

Here is a close-up of the center design.


I outline quilted all of the interlocking strips and then stipple quilted in all of the background spaces.  I created a celtic-style design in the corners and on either side which I outlined and stippled to bring out the design. Here is the corner design.
Here is the design on the side.

And here are some views of the back.


This was my first attempt at something like this, so I know there is lots of room for improvement.  But, overall, I'm pretty pleased with the result.

I've got the quilt from last year's retreat on the machine now.  So I'm hoping to get it finished in time to post next month.

In the meantime, here is a look at my current Winter theme for the fireplace mantle.


 I used candles to coordinate with the colors in the wreath.  Each of the candle holders is a slightly different shape for interest.  The mantle cover is something I made many years ago.  It is pieced but not actually quilted.

Until the next time......................

Pam